Page 1 of 1
P3 75 BOOT LID
Posted: Tue Oct 25, 2016 6:06 pm
by benironhorse
Do we have a guru in the club who's had experience of refitting the boot lid!
I'm now 80% through the panel restoration of the car and have taken great care to ensure door gaps and panel alignment are as good as practically possible
The car's at the final primer stage and my attention has moved on to the fit of the boot.Try as I might obtaining acceptable gaps is proving extremely difficult and the exercise is not helped by access to the boot pivots .
Is there a recognised "starting point "which I'm somehow missing ?
Any advice would be greatly appreciated .
Best Regards
Ben
Re: P3 75 BOOT LID
Posted: Tue Oct 25, 2016 7:01 pm
by luli
Rover 10 might be different in some details, but the following may help you:
http://wp.me/pXLKy-K8
Re: P3 75 BOOT LID
Posted: Sun Oct 30, 2016 7:41 pm
by benironhorse
Thanks for the link and info ----That's some restoration and what a final boot panel fit, still trying to figure out how to access the tapered screws to give a fine adjustment.
Best Regards
Ben H
Re: P3 75 BOOT LID
Posted: Sun Oct 30, 2016 9:19 pm
by luli
You are probably looking for the locker hinge. You can find some pictures here:
http://wp.me/pXLKy-1kH.
Re: P3 75 BOOT LID
Posted: Mon Oct 31, 2016 10:02 pm
by benironhorse
Thanks for the link .Adjusting the locker hinges is certainly proving a challenge .Two things I've noticed . A replacement locker base panel has been fitted at some time in the cars history ,(not the boot floor) unfortunately produced to a profile that causes the bottom edge of the boot lid to foul . Should the panel be swaged or recessed? Secondly the locker hinges locating holes in the boot lid side panels have been elongated .Is this normal?
Am I correct in assuming the text in the restoration history is Hebrew? Are there any English translations available ?
Best Regards
BenH
Re: P3 75 BOOT LID
Posted: Tue Nov 01, 2016 2:30 pm
by luli
The following list is taken from the parts list:
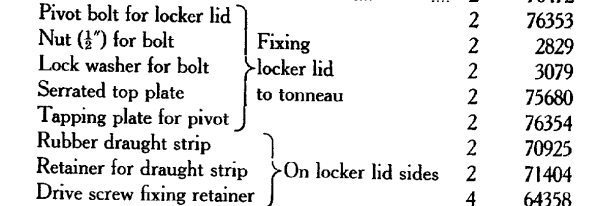
Make sure that the pivot bolt thread is clean and in good shape (use a 1/2” BSF dye to refresh it). Use a 1/2” BSF tap to clean the nut and the taping plate. The serrated top plate and the taping plate are outside of the rear lid and nut is inside. Using a screwdriver adjust the bolt so that it just holds the taping plate. Put the lid in place and using the screwdriver adjust the two bolts so that the lid nicely fits the trunk. Use a ranch and the screwdriver to tighten the nut.
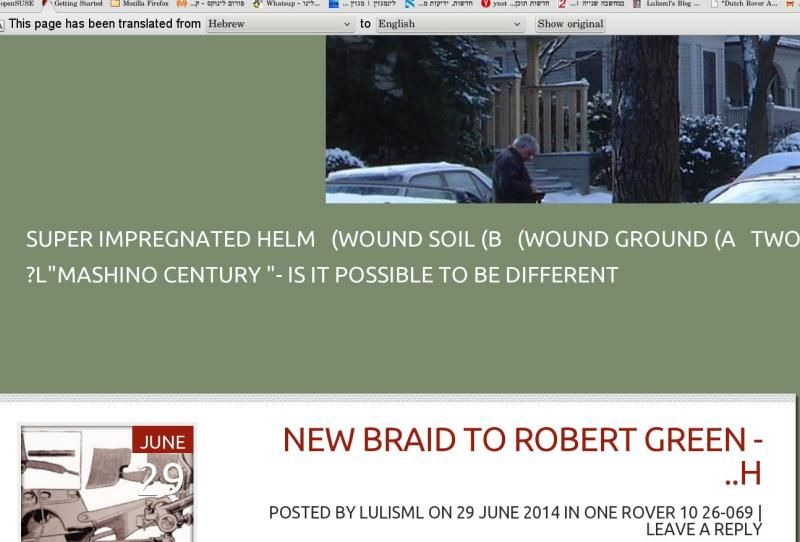
PS have you tried google translate? (It translates "my green Rover" into Mr. Robert Green ...)
Re: P3 75 BOOT LID
Posted: Tue Nov 01, 2016 10:05 pm
by benironhorse
Great information and help. Not sure if the Rover 10 featured is yours ,my congratulations if it is,certainly a restoration of the highest quality and an incredibly detailed history of progress.
Best Regards
Ben H

