
Warning: please read your workshop manual before doing this job and use the correct torque settings etc. This guide is meant as an aid, not an alternative to, the workshop manual procedures. If you are not sure about what you're doing, ask someone who is.
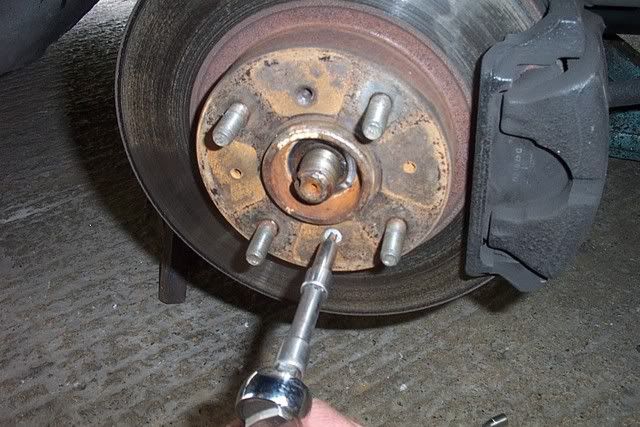
The first thing to do is to open out the "stake" on the hub nut. With my Luxury pattern wheels, this is easily done but most will require you to remove the wheel, undo the staking and refit the wheel (you'll need the wheel on to remove the nut).
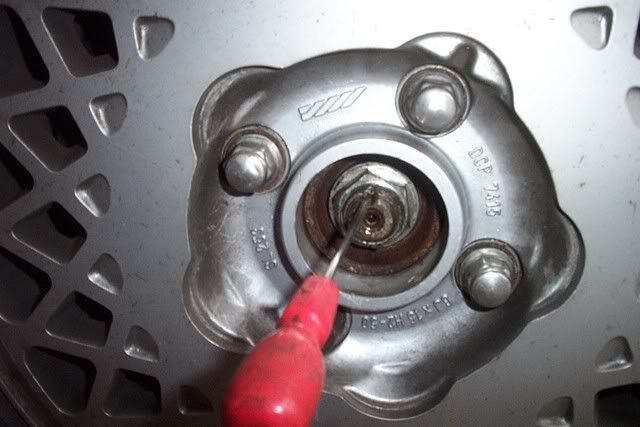
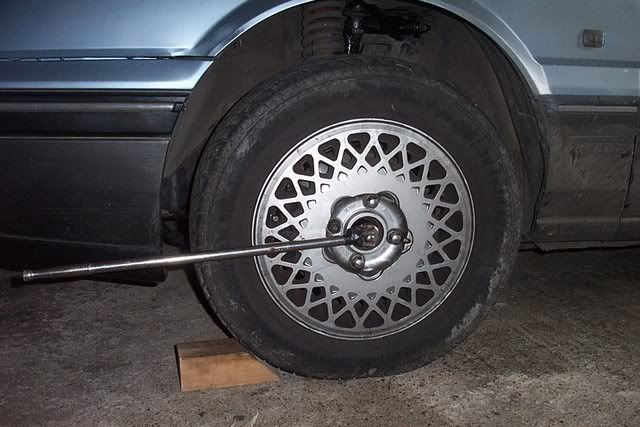
The hub nut is 32mm and you will need a long bar to remove it because it will be very tight! The wheels will need to be chocked to stop the car rolling.
Next step is to remove the ABS sensor cable mounting bolts (3 x 8mm) and the ABS sensor housing (2 x 10mm bolt). These can be very tight and a decent, hexagon headed socket reduces the risk of rounding the nuts.
Remove the brake disc retaining screws (big Philips).
Remove the brake caliper - 13mm bolt and 17mm locknut.
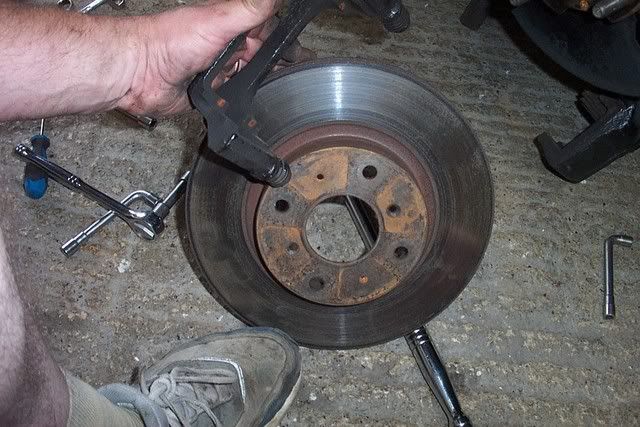
Remove the caliper carrier - 2 x 17mm bolt - and then remove the brake disc. With the brake disc removed, the suspension arm is lighter and easier to work with - although the job can be done with the disc still attached.
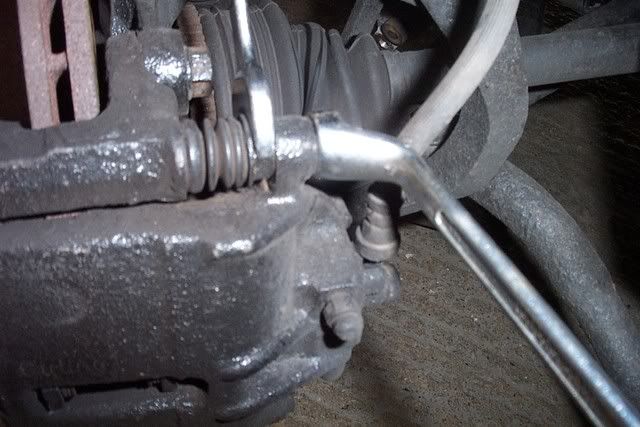
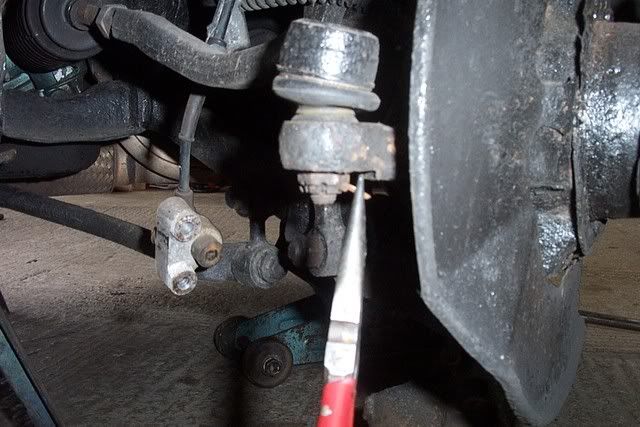
Remove the split pin from the castellated nut on the track rod end, undo the nut (17mm) and separate with a ball joint splitter.
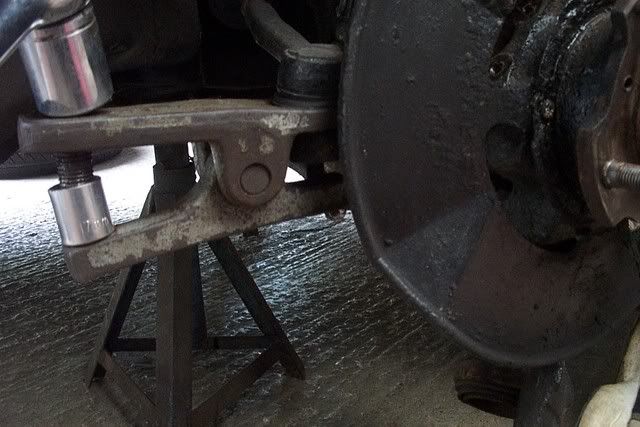
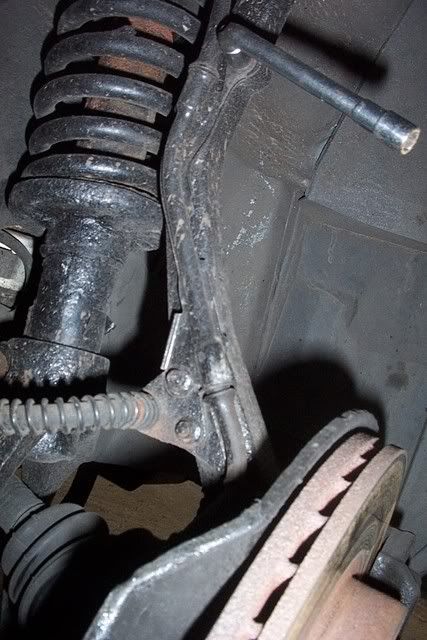
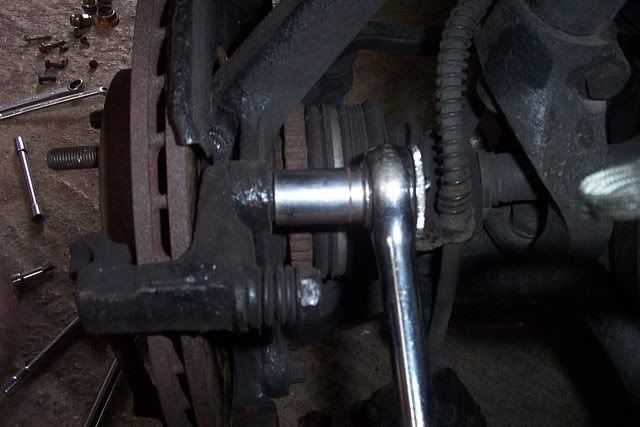
To allow the bottom arm more room to move, release the bottom bolt from the strut yoke ( 19mm both ends on mine - I'm sure the mk2 had different sizes).
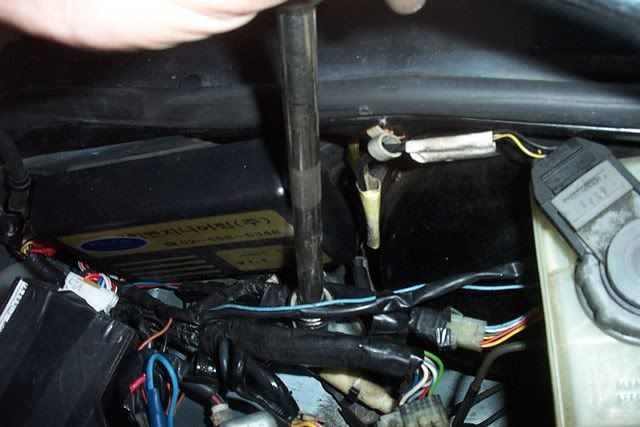
If you want to remove the driveshaft or change a CV joint/joint boot, then the only additional step is to remove the bolt from the the bottom of the damper where it fits the strut yoke (17mm?). The picture above shows my ratchet on the yoke top bolt.
The driveshaft can now be removed by levering away from the gearbox using the special tools (two, big, flat screwdrivers and a hammer in my case!). I didn't do this as my CVs and boots are in good nick - so expect one or both to fail very soon.
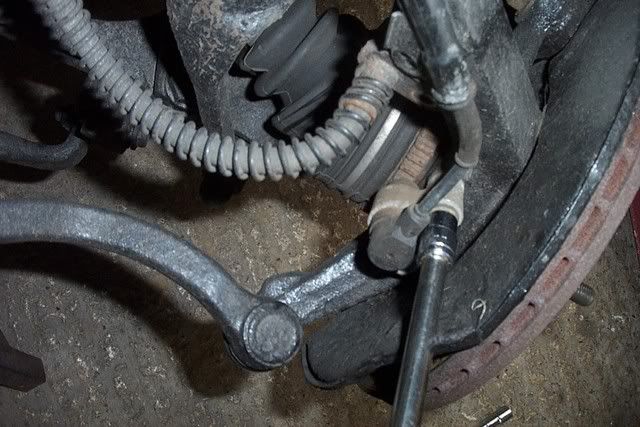
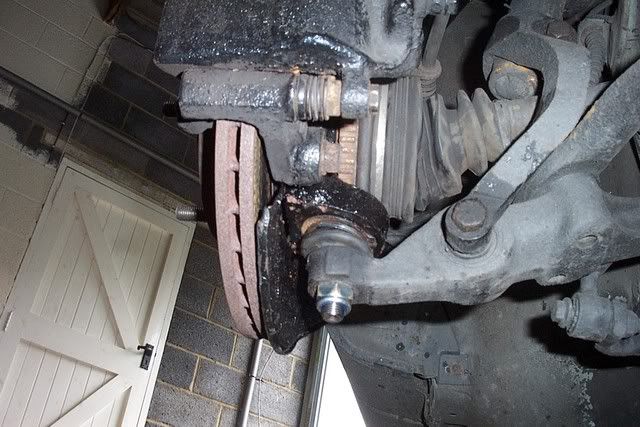
Undo the bottom balljoint nut - 22mm - and separate with a balljoint splitter.
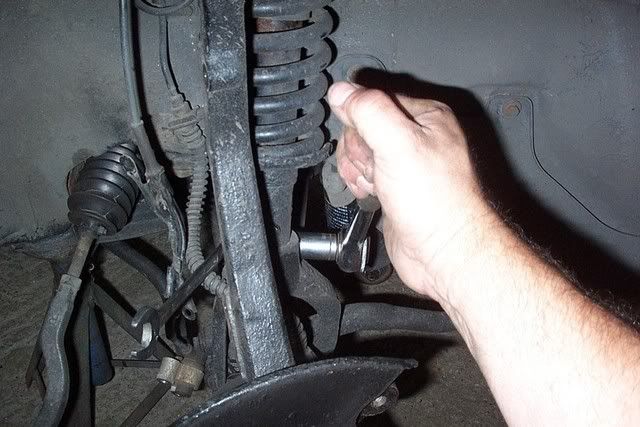
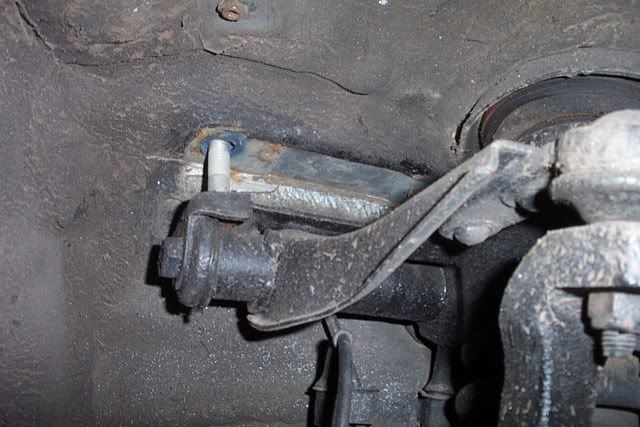
You now have two options for dealing with the top arm. I usally remove it along with the upright by removing the two 18mm nuts that mount the top arm to the inner wing, and then lowering the arm down.
Alternatively, remove the 17mm nut from the upper balljoint and split it from the upright.
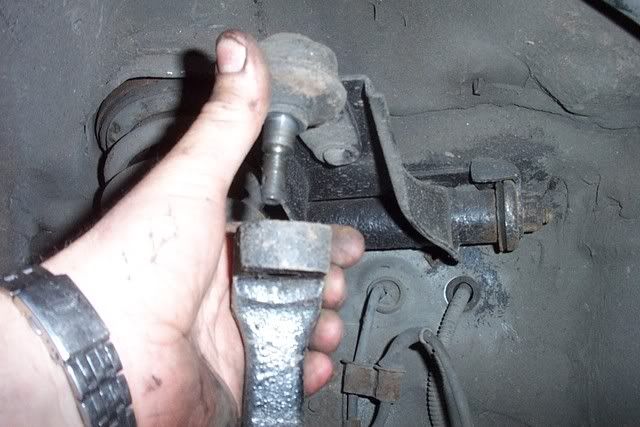
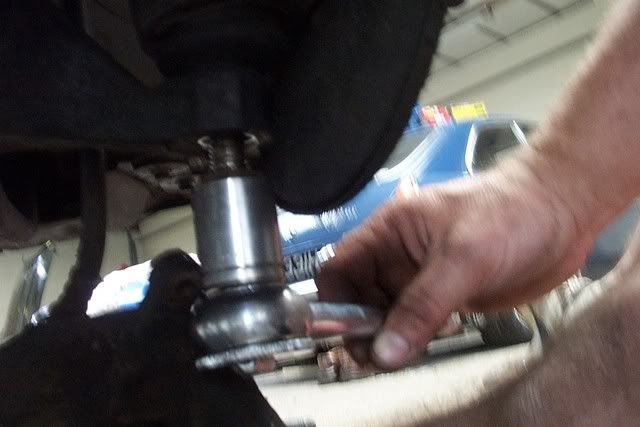
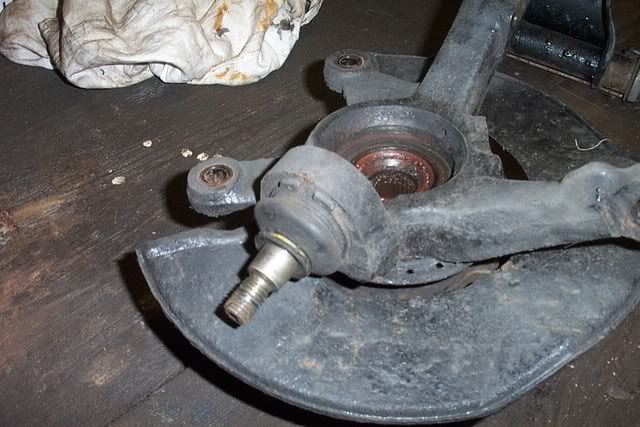
The suspension upright can now be wiggled free and dumped on your bench. You can see the balljoint in this shot.
Remove the circlip - it can be levered off with small flat screwdrivers if you don't have circlip pliers.
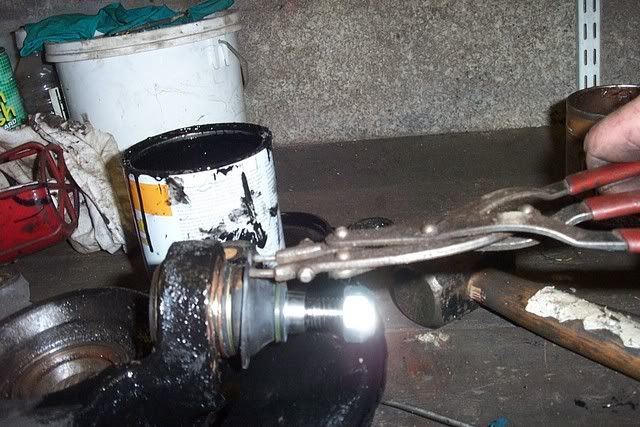
The balljoint may now be pressed out with a hydraulic press or (my technique) thwacked out with a 2lb lump hammer. The new one is then pressed in or carefully tapped in with a copper or plastic mallet.
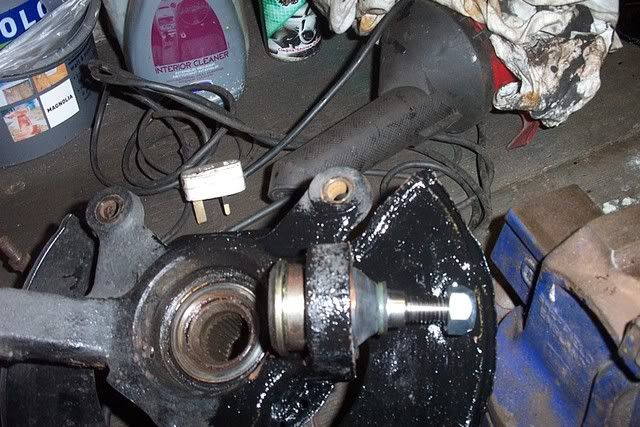
Once the new balljoint is in, the circlip is refitted and the above procedure is reversed for reinstallation. A coat of Hamnmerite or similar will help keep the tinworm, at bay.
Points to remember when refitting:
Don't tighten the strut yoke nuts until the car is back on its wheels.
Use a new split pin on the track rod end.
You should use a new hub nut - but I've always reused them if they're not badlly damaged.
Hub nut torque is 300lbft if memory serves - otherwise known as "as tight as you can get it!". You won't get near than unless the car is on its wheels and chocked. Restake the nut once tight.